 English
 Español

Gentle
Gentle
Gentle
Gentle
Gentle
Gentle
Gentle
Gentle
Gentle
Content
- 1 Material Fundamentals: Cast vs. Extruded Acrylic
- 2 Six Core Acrylic Fabrication Techniques
- 3 Common Defects and How to Avoid Them
- 4 Technique Comparison: Which Process Fits Your Part?
- 5 Hidden Indicators: What to Inspect Beyond Visual Checks
- 6 Application Sectors: Where Acrylic Fabrication Is Most Demanded
- 7 ROI-Focused Evaluation: How to Choose a Fabrication Partner
- 8 Maintenance and Compliance in Acrylic Fabrication
When an engineer asks whether an acrylic sheet can replace a polycarbonate diffuser without losing light transmission, the answer rarely lies in the base material alone. It lies in how the sheet is cut, bent, bonded, polished, and coated. Acrylic fabrication techniques—from simple saw cutting to precision laser engraving—determine whether a component looks optically clear in the first week or still performs after years in a luminaire.
Core takeaway: Choose a fabrication partner that integrates material selection, process tolerances, and surface quality. The same PMMA resin can yield either a premium light guide or a reject part, depending on the techniques applied.
Material Fundamentals: Cast vs. Extruded Acrylic
Acrylic, or PMMA (polymethyl methacrylate), is the most common optical-grade thermoplastic for light guides and diffusers. Extruded sheet offers tighter thickness tolerances and lower cost, while continuous cast sheet provides better molecular weight and edge polish for heavy fabrication. For lighting components, extruded PMMA is often the sweet spot because it combines consistent optical clarity with stretch-forming workability.
Thickness tolerance matters more than most buyers realize. A ±0.1 mm variation can create visible bright or dark bands in an edge-lit light guide. Therefore, the fabrication process must start with certified sheet that has verified refractive index and parallel surfaces.
Regardless of the base process, the techniques used after the sheet leaves the line determine the final performance. A poor edge polish creates light leakage; an over-bent corner creates stress whitening; an incompatible solvent creates crazing.
Six Core Acrylic Fabrication Techniques
Every fabrication order challenges different process variables. These six techniques cover the majority of optical and structural acrylic parts.
1. Cutting & Routing
Laser cutting produces the cleanest edges for thin sheets, while CNC routing handles thicker panels and complex curves. Feed rate and tool geometry matter more than machine brand. For optical edges, avoid melting-induced stress at the cut line.
2. Line Bending
Localized heating along a straight line allows crisp bends. Use a strip heater and clamp fixture; exceed the glass-transition temperature (~105°C) slowly to avoid bubbles and stress marks. For tight radii, a V-groove is often added before heating.
3. Solvent Bonding
Methylene chloride or acrylic cement wicks into the joint by capillary action. The key is a square, burr-free edge and low humidity; the bond strength exceeds the parent material when done right. Do not over-apply solvent—it weakens the joint.
4. Edge Polishing
Diamond-polished edges remain clear and fracture-resistant. Flame polishing is faster but removes material and can micro-crack if the flame is held too long. For high-transmission light guides, diamond buffing is the safer choice.
5. Thermoforming
Drape and vacuum forming turn flat sheet into three-dimensional housings and lenses. Pre-drying at 75–80°C for 2–4 hours prevents surface crazing from residual moisture. Uniform clamping pressure reduces thin corners in deep-drawn parts.
6. Surface Hardening & Coating
Hard-coat layers raise surface pencil hardness from 2H to 4–6H, while anti-yellowing additives prolong optical life under UV exposure. These are secondary processes, but they define product lifespan in harsh environments.
Common Defects and How to Avoid Them
Fabrication defects appear when material properties and process parameters are not aligned. Here are the most frequent failure modes that production teams should inspect:
- Crazing — caused by aggressive solvents or thermal shock. Use a compatible acrylic cement and slow cooling.
- Stress whitening — occurs at bend lines under excessive heat or mechanical strain. Ramp heating gradually and add a relief anneal after forming.
- Chipped edges — common with blunt tooling. Use carbide-tipped cutting tools and climb milling for CNC work.
- Yellowing — due to UV degradation without anti-UV additives. Specify anti-yellowing PMMA grades for daylight or LED exposure.
- Sink marks — in thermoformed parts when wall thickness is uneven. Redesign the draft angle and choose a higher-melt-strength material.
Technique Comparison: Which Process Fits Your Part?
Hidden Indicators: What to Inspect Beyond Visual Checks
Raw edges may look fine to the eye, but these hidden metrics decide whether the final product meets an optical specification:
92% transmission
0.4% haze
6H hardness
±0.2 mm tolerance
These figures represent typical values for extruded optical-grade PMMA. A reliable supplier will provide batch-level data, not just a generic datasheet. Surface hardness, in particular, separates commodity acrylic from grades that survive repeated wiping or abrasion in panel lights.
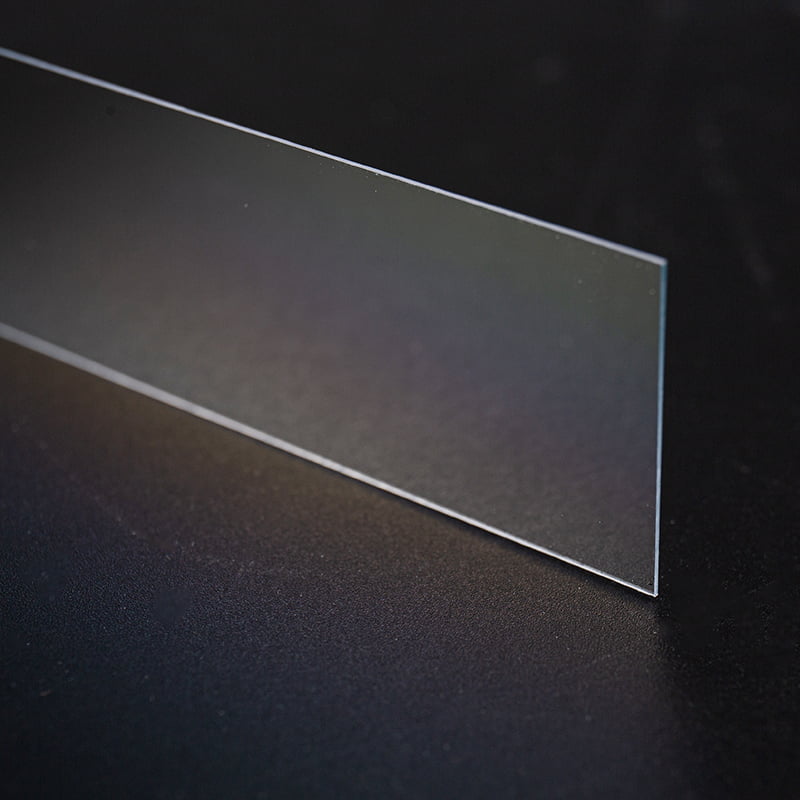
Related product: 4–6H surface-hardened, wear-resistant PMMA light guide plate — helps maintain hardness and optical clarity in abrasive environments.Application Sectors: Where Acrylic Fabrication Is Most Demanded
- Lighting & luminaires — 45%
- Signage & display — 20%
- Building & interior — 15%
- Automotive & transport — 8%
- Consumer & industrial — 12%
The lighting segment dominates because diffusers and light guides are the core application where acrylic's optical clarity and formability are hardest to replace. Signage remains a strong niche due to edge-lit panels, while automotive applications favor lens-grade acrylic that can be hard-coated.
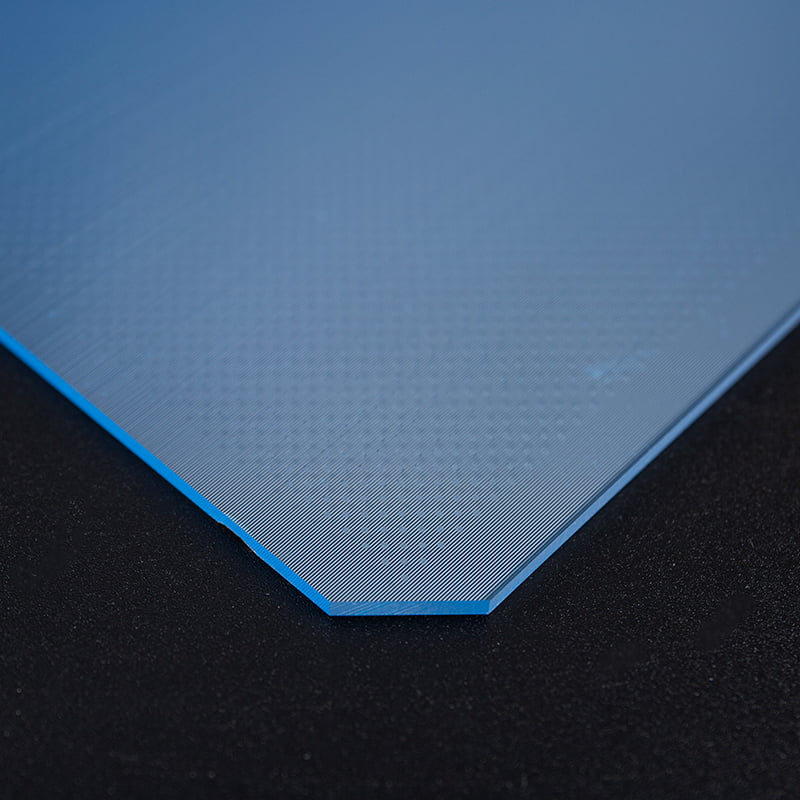
Product spotlight: Flexible, non-standard-size PMMA laser dotted light guide plate — supports custom dot patterns for large-format edge-lit signs.ROI-Focused Evaluation: How to Choose a Fabrication Partner
The cheapest quote is usually the most expensive in the long run. Use this five-step evaluation to account for lifetime costs, not just unit price.
1. Define Optical Specs
Set transmission, haze, and hardness targets. Do not rely on “clear enough”.
2. Audit Material Grade
Confirm the sheet is made from virgin, UV-stabilized PMMA, not recycled blend or unverified offcuts.
3. Inspect Process Capability
Ask for precise laser, CNC, bending, and coating tolerances. Visit the production line to see how edges are deburred and cleaned.
4. Validate Samples & Batch Data
Test surface hardness, thermal shock, and UV yellowing on production-representative samples, not hand-polished prototypes.
5. Calculate Lifetime Cost
Include rejection rate, cleaning frequency, installation failures, and replacement cycle in the total cost model.
This sequence is especially relevant for LED panel lights, cleanroom fixtures, and other optical assemblies where a single flawed diffuser can undermine an entire product batch.
Maintenance and Compliance in Acrylic Fabrication
Even the best-fabricated part fails early if it is cleaned with the wrong solvent. Use mild soap and water; avoid ammonia-based cleaners. Long-term exposure above 80°C can soften PMMA, so check thermal limits for the complete fixture assembly.
Compliance adds another layer to fabrication planning. Flame retardancy (UL 94), food-contact grades, antibacterial surfaces, and recyclability claims all require specific resin choices and process controls. A supplier that also works with PS, PC, PP, and ABS can consolidate material selection and reduce qualification cycles when a project moves from prototyping to volume production.
Acrylic fabrication is not a single black-bag trick. It is an engineering discipline where the choice of techniques, tolerances, and coatings decides whether a light guide stays bright or a diffuser turns yellow. For optical-grade products, work with a supplier that treats fabrication as part of the material specification, not an afterthought.