 English
 Español

Gentle
Gentle
Gentle
Gentle
Gentle
Gentle
Gentle
Gentle
Gentle
Content
- 1 Molding Plexiglass Is Heat Forming — and Material Choice Comes First
- 2 Temperature Ranges That Actually Matter for Acrylic
- 3 Three Reliable Methods for Molding Plexiglass
- 4 Step by Step: Drape Forming a Plexiglass Panel Over a Mold
- 5 Five Mistakes That Ruin Most Acrylic Molding Jobs
- 6 When a Professional Manufacturer Beats the Workshop
Molding Plexiglass Is Heat Forming — and Material Choice Comes First
Plexiglass, the common name for PMMA acrylic sheet, is a thermoplastic that becomes pliable when heated and holds its new shape after cooling. That single property makes it one of the most forgiving materials for hands-on forming projects, from motorcycle windshields and display stands to custom lighting diffusers and machine guards. The molding method itself is not complicated: heat the sheet, shape it over a former, let it cool. The part that causes most failures is choosing the wrong material or pushing the temperature outside the safe window. So before reaching for a heat gun, decide which type of acrylic you actually need. Typical parts include point-of-sale displays, machine splash guards, lamp covers and protective windows — all shapes that start as flat sheet and gain their geometry through heat.
For any molding project, the cast-versus-extruded distinction matters more than brand. Cast acrylic offers slightly better optical clarity and chemical resistance, but extruded sheet is usually more consistent in thickness and softens more evenly, which makes it the easier material for bending and forming. If you are building a one-off curved panel or a prototype enclosure, start with an optical-grade transparent extruded PMMA sheet; it gives you stable forming behavior and a clean finished surface. For a deeper comparison of the two production routes, our PMMA material guide covers the properties you need to check before ordering.
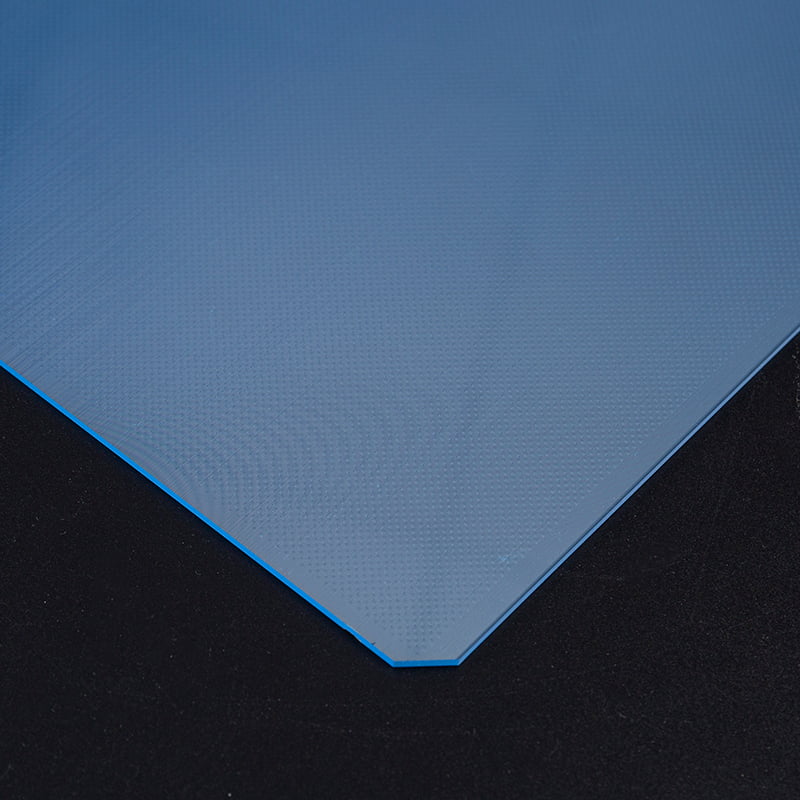 High-Brightness Wide-Application Optical-Grade PMMA Transparent Extruded Light GGentle is High-Brightness Wide-Application Optical-Grade PMMA Transparent Extruded Light Guide Plate Suppliers and Manufacturers, Wholesa...View Product →
Temperature Ranges That Actually Matter for Acrylic
Acrylic does not melt suddenly like ice cream; it passes through a softening stage. Below roughly 100 °C it is still glassy and will crack or craze if forced into a bend. The practical forming window sits between 150 °C and 180 °C (about 300 to 355 °F). Inside that range, the sheet can be bent, draped or vacuum-formed without losing its surface quality. Above 190 °C, bubbles and whitening appear as the material starts to degrade. Different suppliers quote slightly different numbers, but the principle is the same: form in the middle of the window and keep the heat uniform.
The Forming Window in Practice
Keep the sheet at the target temperature long enough for the heat to penetrate the full thickness, then work quickly while it is still pliable. An infrared thermometer removes the guesswork: point it at the sheet surface and wait until the reading sits inside the forming window before you start bending. A surface that looks ready is not the same as a through-heated sheet, and this is where most hobbyist attempts go wrong.
Why Thickness Changes the Math
Thicker stock stores more heat and needs more time to reach the forming temperature. A 2 mm sheet may be ready in a couple of minutes, while a 6 mm sheet can need several minutes of steady heating. Rushing a thick sheet produces a surface that is soft and a core that is still rigid — the result is a bent edge with stress cracks. The same logic applies to strip heaters: increase heating time with thickness, and check that the softened zone is wide enough for the bend radius you need.
| Condition | Temperature | What happens |
|---|---|---|
| Glass transition | ~105 °C | Sheet starts to soften but still resists bending |
| Forming window | 150–180 °C | Ideal range for bending, drape and vacuum forming |
| Overheating | Above 190 °C | Bubbles, whitening and permanent surface damage |
Three Reliable Methods for Molding Plexiglass
Choose the method by the shape you need, not by what looks impressive. Sharp corners call for line heating; smooth curves call for whole-surface heating; deep, repeatable parts call for vacuum forming.
Line Bending for Sharp, Clean Corners
A strip heater or a focused heat gun heats one narrow band of the sheet. Once that band softens, you fold the sheet to the target angle and hold it until it cools. Because acrylic springs back slightly after cooling, overbend by a few degrees; with practice you will learn how much your sheet thickness and heater width demand. The technique produces crisp 90-degree corners without heating the rest of the part, which is why it remains the standard for display stands, light covers and motorcycle windshields.
Drape Forming for Curves and Domes
For a curved shape, heat the entire sheet in an oven or under a wide infrared source, then lay it over a mold — a wooden buck, a foam former or even a kitchen bowl. Gravity and light pressure do the work. The sheet cools into the mold's contour, and a trim router cleans the edges. For deeper curves, let the sheet sag under its own weight before contact; forcing it down while it is still too cool creates thin spots at the corners.
Vacuum Forming for Complex, Repeatable Parts
Vacuum forming pulls a heated sheet down onto a detailed mold using atmospheric pressure, reproducing ribs, undercuts and textured surfaces far better than hand forming. It is the method behind equipment housings, automotive components and protective covers — and it is where the process stops being a hobby and starts needing proper tooling and temperature control. Once you reach this stage, material thickness tolerance becomes critical; our guide to plastic sheets for signage and LED applications explains why controlled-gauge acrylic behaves far more predictably than craft-store off-cuts.
| Method | Best for | Equipment | Typical result |
|---|---|---|---|
| Line bending | Sharp angles, boxes, windshields | Strip heater or focused heat gun | Crisp, straight bends |
| Drape forming | Curved panels, domes, canopies | Oven or infrared heater plus mold | Smooth compound curves |
| Vacuum forming | Deep parts, ribs, textured details | Vacuum former and mold | Repeatable production parts |
Step by Step: Drape Forming a Plexiglass Panel Over a Mold
Start with a clean, dry sheet and a mold that can withstand the forming temperature. Wood and high-temperature foams work well; laminates and varnished surfaces can stick. Remove both protective films before heating.
- Cut the acrylic sheet roughly to size with a saw or CNC cutter, leaving a small margin for trimming.
- Preheat the oven to 160 °C (320 °F) and place the sheet on a flat tray lined with release paper.
- Heat until the sheet sags under its own weight and feels flexible when tested with a gloved finger — typically a few minutes for 2–4 mm sheet.
- Lift the hot sheet onto the mold and let it settle over the contour, pressing gently from the center outward.
- Hold the part until it cools below roughly 60 °C; cooling too fast creates internal stress and later crazing.
- Trim the edges, then sand and polish the cut line if the edge will be visible.
Two practical reminders: wear heat-resistant gloves whenever you handle hot acrylic, and keep the work area ventilated. PMMA releases small amounts of vapor as it heats; at typical hobbyist temperatures and short exposure times the risk is low, but clean air is a non-negotiable habit.
Five Mistakes That Ruin Most Acrylic Molding Jobs
Most failed parts fail in the same five ways. Learn to recognize them before you waste a sheet.
- Overheating the surface while the core stays cold. The outside bubbles and whitens while the inside is still rigid, producing a weak, cracked bend.
- Forcing a bend below the forming temperature. The result is stress crazing — fine white cracks that appear at the bend line, sometimes only days later.
- Uneven heating across the sheet. Hot spots cause warping and lopsided curves that cannot be corrected once the material cools.
- Skipping the protective film or using the wrong release agent. Mold materials and coatings can bond to the hot acrylic.
- Cooling too fast. Snap-cooled parts hold more internal stress and are prone to cracking during trimming or drilling.
When a Professional Manufacturer Beats the Workshop
DIY molding makes sense for a prototype or a single part. But as soon as the part needs optical performance — a light guide plate that distributes light evenly, a diffuser with a specified haze, or a flame-retardant grade for a commercial fitting — the requirements change. A sheet that varies by a few tenths of a millimeter is acceptable for a display stand and useless for a backlit panel. Even a well-equipped workshop cannot control lot-to-lot consistency, yellowness index or flame-retardant rating. Flame-retardant acrylics, for example, must be tested and documented to specific classifications, and an undocumented resin swap can change how a part forms, ages and burns.
At Suzhou Gentle, the same optical-grade PMMA extrusion lines that produce our transparent sheet also feed our vacuum forming product range built for industrial customers. We control formulation, gauge and surface quality in-house, and production runs under an ISO 9001 quality management system. That means we can supply the right acrylic grade and form it into covers, housings, diffusers and light-guide components with documented tolerances. If your project is heading into production, evaluate material options and forming capability before you commit to a manual process.
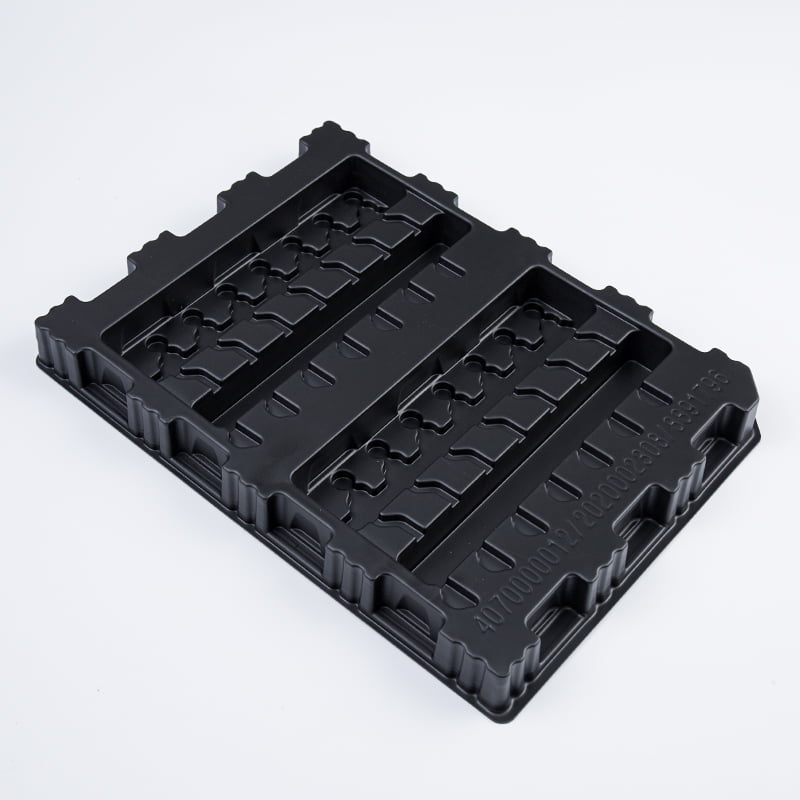 Vacuum Forming Plastic Sheet Suppliers, Custom Vacuum Forming Plastic ProductsSuzhou Gentle Photoelectric Technology Co., Ltd. support Custom Vacuum Forming Plastic Products, Vacuum Forming Plastic Sheet Suppliers a...View Product →
Molding plexiglass is genuinely approachable: control the temperature, respect the thickness, and choose a material with consistent properties. Those three factors separate a clean curve from a cracked, bubbled reject.